
How James Hardie Siding Is Installed: What to Expect
If you're considering James Hardie fiber cement siding for your home, you've probably heard that it's more involved to install than vinyl or wood. That's true, and understanding why can help you ask better questions, recognize quality workmanship, and know what a proper installation looks like from start to finish.
Why Fiber Cement Installation Is More Technical
The short answer is weight and rigidity. A single 12-foot plank of HardiePlank lap siding weighs significantly more than a comparable vinyl or engineered wood panel. Fiber cement doesn't flex, which means it has to be cut precisely and fastened correctly or it will crack. It also can't be bent around corners the way vinyl can.
Beyond the physical handling, James Hardie has a detailed set of installation requirements that must be followed for the product warranty to remain valid. Those requirements cover everything from fastener type and placement to clearances from the ground, roof, and trim. A contractor who skips steps is voiding the manufacturer's warranty.
What is the Necessary Prep Before the Siding is Installed?
A proper James Hardie installation starts with the wall, not the siding. The crew will remove your existing siding and inspect the sheathing underneath. If there's any rot, moisture damage, or deteriorated house wrap, it gets addressed before anything new goes on.
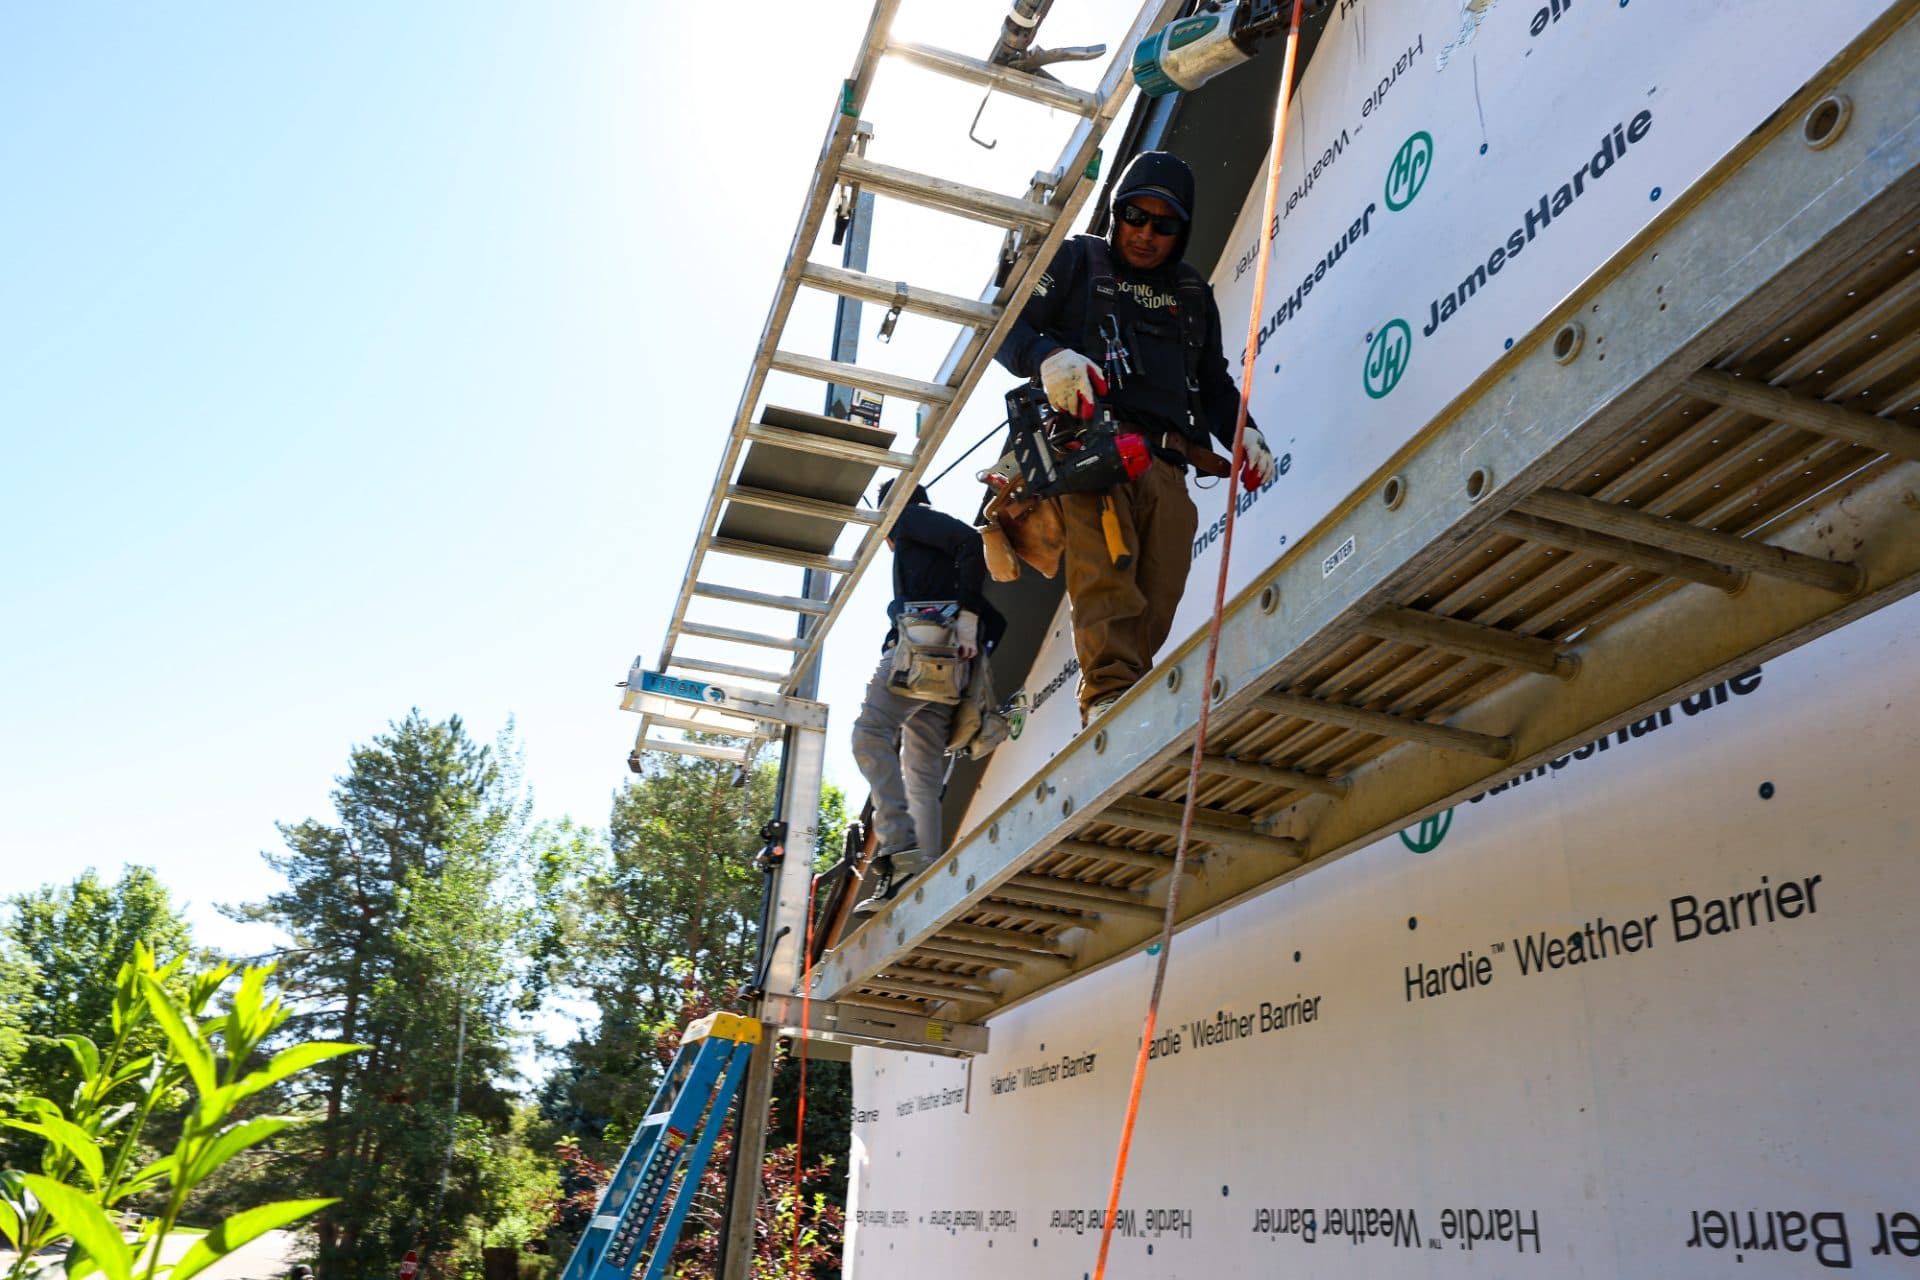
From there, a water-resistive barrier (house wrap or felt) is installed over the sheathing. This layer is critical. Fiber cement itself is highly durable, but it's not a waterproof barrier. The WRB is what keeps bulk water from reaching the structure behind the siding. James Hardie's installation guidelines specify that this layer must be in place before any siding goes on.
After the WRB, a starter strip is installed along the bottom of the wall. This is what establishes the angle and overhang for the first course of siding and sets the pattern for every row above it.
Cutting and Fastening
Fiber cement is cut using either a fiber cement shear (which makes clean cuts without dust) or a saw with a polycrystalline diamond-tipped blade.
Each plank is face-nailed or blind-nailed depending on the profile. James Hardie requires corrosion-resistant nails, either hot-dipped galvanized or stainless steel, driven flush with the surface. Overdriven nails can crack the plank. Underdriven nails won't hold correctly. The fasteners have to be placed within a specific distance from the plank edges and at specific intervals into studs, not just sheathing.
Lap spacing is also controlled. Each course overlaps the one below it by a minimum amount, and that overlap has to stay consistent across the entire wall. Installers use a story pole or gauge to keep courses straight and evenly spaced as they work up the wall.
Corners, Trim, and Penetrations
Inside and outside corners can be handled a few ways: with fiber cement corner trim boards, with metal corner pieces, or with the planks mitered into each other. Each approach has tradeoffs in appearance and labor, and James Hardie has specific instructions for each.
Around windows, doors, and any wall penetration, a flashing and caulking sequence has to be followed in the right order. The caulk used must be compatible with fiber cement. James Hardie specifies that all butt joints between planks and all penetrations be caulked before painting, using a paintable, flexible caulk. Missing or improper caulk at these transitions is one of the most common failure points in a fiber cement installation.
Finishing: Paint and Primed Products
James Hardie siding comes in two forms: pre-finished (ColorPlus Technology, which is factory-applied) and primed-only, which requires field painting after installation. If you choose the primed option, painting needs to happen within a specific window after installation. Leaving primed fiber cement unfinished and exposed to moisture for too long can affect how the paint adheres.
ColorPlus products arrive with a baked-on finish that carries its own warranty, but any cut edges made during installation need to be touched up with the matching touch-up paint James Hardie provides.
A Note on Who Does the Installing
James Hardie has a preferred contractor program that identifies installers who have completed their training and demonstrate familiarity with the installation requirements. That doesn't mean every good installer is in the program, but it's a reasonable starting point when vetting contractors. Regardless of who you hire, ask directly whether they follow James Hardie's installation guidelines and whether they carry the documentation to back that up. A crew that's done this work regularly will have straightforward answers.
If you're exploring fiber cement siding as an option for your home, understanding what a correct installation involves helps you evaluate bids more accurately. The material cost is only part of the picture. The installation is where the long-term performance is either earned or lost.
Frequently Asked Questions
How long does a James Hardie siding installation take?
Most full exterior siding replacements take between three and seven days, depending on the size of the home, the number of stories, and the complexity of the trim work. Homes with a lot of angles, gables, or architectural detail will take longer than a straightforward two-story rectangle.
Does James Hardie siding require a special contractor?
No licensing requirement exists specifically for fiber cement installation in most jurisdictions, but the product does have detailed installation requirements that affect the warranty. James Hardie offers training for contractors, and their preferred contractor program is one way to identify installers who have completed that training. At minimum, you want a contractor who is familiar with the current James Hardie installation specifications for the specific product you're using.
What is the minimum clearance from the ground for James Hardie siding?
James Hardie requires a minimum clearance of two inches between the bottom edge of the siding and any horizontal surface, such as soil, mulch, or decking. This gap prevents wicking moisture from reaching the plank ends and helps the material perform as intended over time.
Can James Hardie siding be installed in cold weather?
Fiber cement itself is not temperature-sensitive in the way that vinyl can be, but caulking and paint adhesion are affected by cold and wet conditions. If you're scheduling an installation in late fall or winter on Colorado's Front Range, confirm with your contractor how they handle caulking and any field painting in low temperatures.
What's the difference between primed and ColorPlus James Hardie siding?
Primed siding arrives ready for field painting and needs to be painted after installation within the timeframe James Hardie specifies. ColorPlus is a factory-applied, baked-on color finish that comes with its own warranty. ColorPlus eliminates the field painting step and tends to provide a more uniform finish, but it limits your color selection to James Hardie's available palette and requires touch-up paint at any cut edges made during installation.