
Siding Behind the Scenes: Days 2-5
If you've already been through the tear-off and prep phase of your siding project, you've made it to the part where things start looking dramatically different. Days 2 through 5 are when new siding goes up on the walls, and while it can look like controlled chaos from the street, there's a clear sequence happening. Here's what your crew is doing, why they're doing it, and what you should do (and not do) inside your home while it's all going on.
Design Details - Before Siding Installation Begins
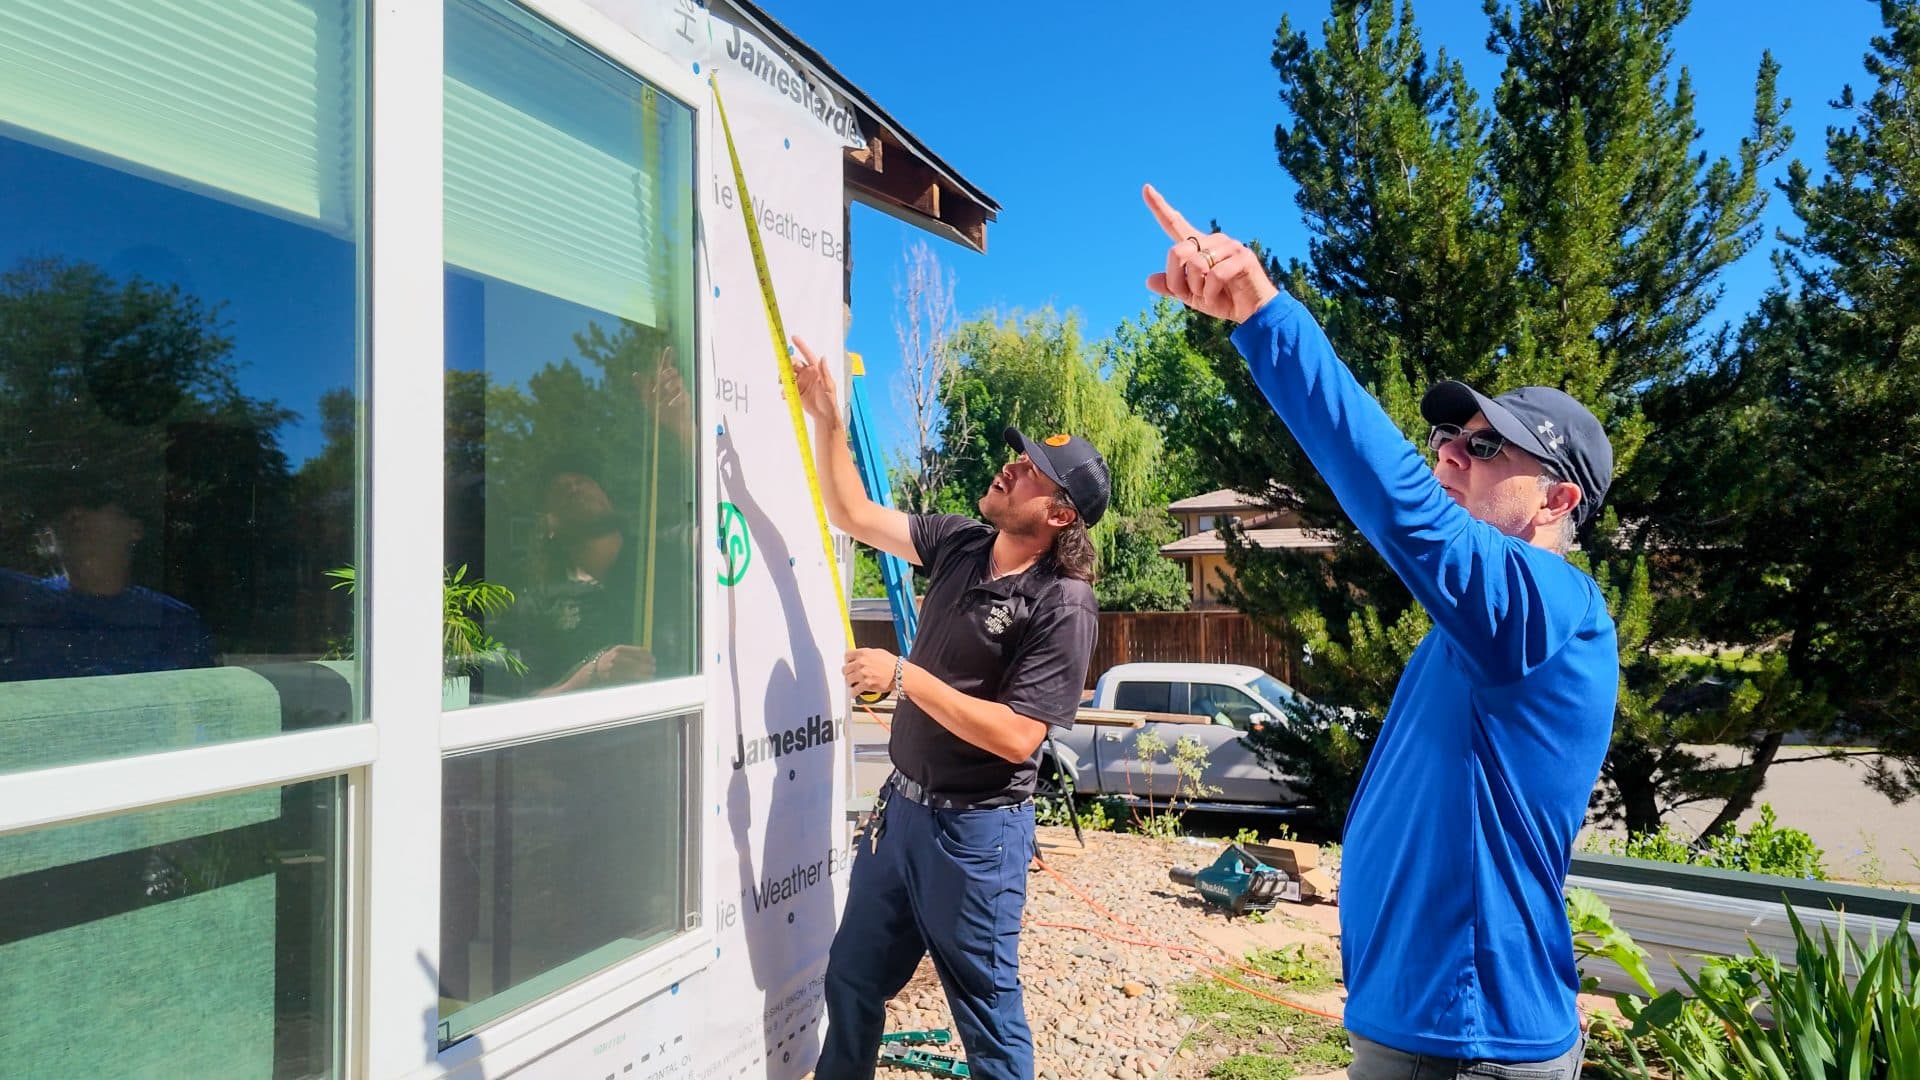
Batten spacing and other detail decisions are finalized at the beginning of this phase. We work closely with you on this to make sure you're happy with how the finished product will look at the end.
Things like batten spacing affect how the shadow lines look across your home, and it affects how the siding relates to your windows, roofline, and other architectural features. We walk through these decisions with you before the crew starts so that by the time panels are going up, there's no guesswork. Getting the design details right early means your crew can work efficiently, and you don't end up with a finished wall that technically is a correct installation but doesn't look the way you expected.
Cutting and Fitting the Panels
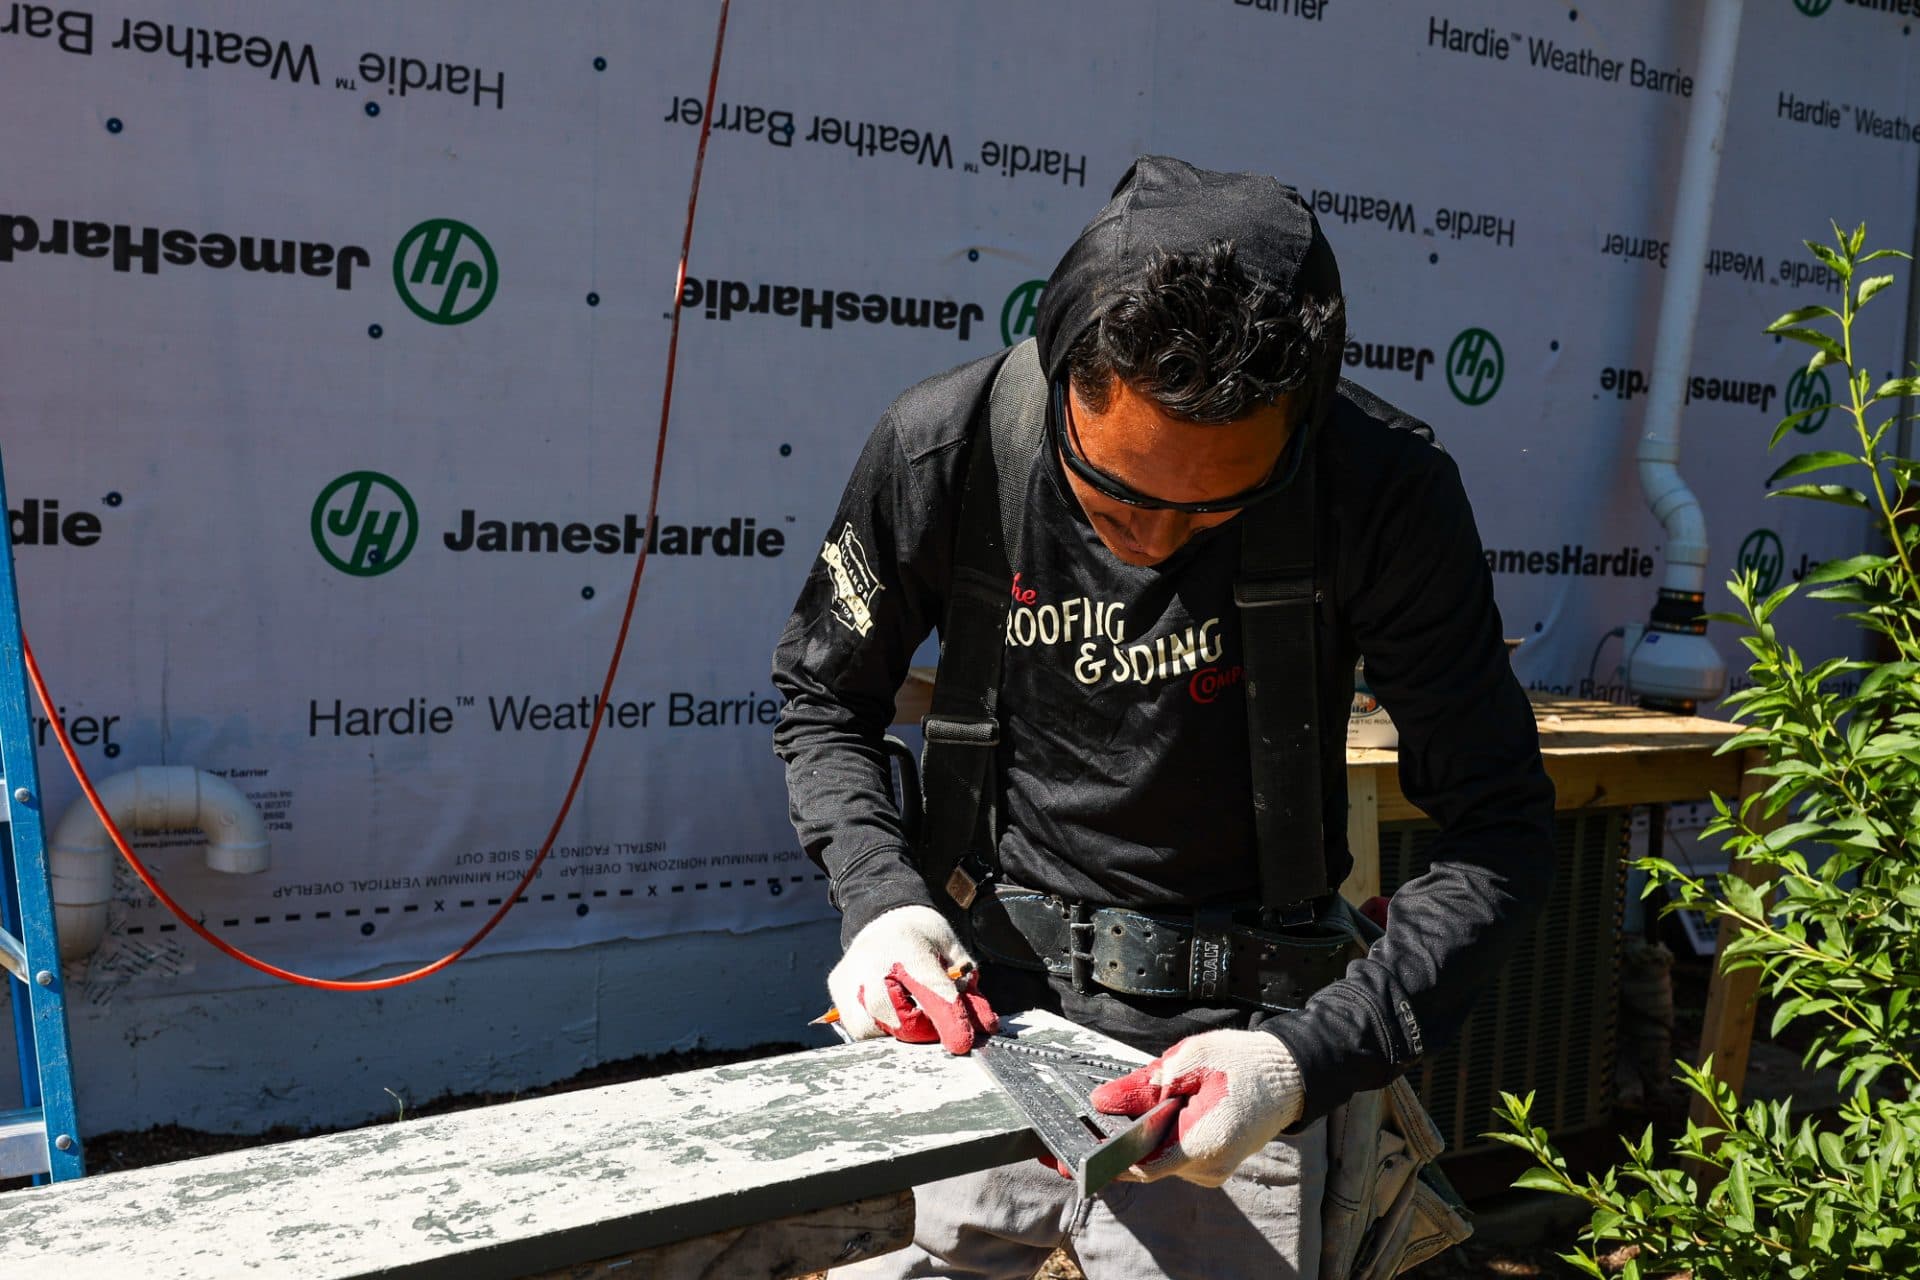
Installation starts with cutting. Your crew is working from the middle of the wall toward the corners, windows, and trim, fitting each panel or plank to the specific dimensions of your home. Cuts are made outside, usually at a saw station set up in the driveway or yard. This keeps the work area organized and keeps dust and debris off your landscaping as much as possible.
For products like James Hardie fiber cement siding, cuts are made with fiber cement-specific blades to keep edges clean and to manage silica dust safely. Precision here matters for both appearance and long-term performance. A poorly fit cut at a corner or around a window trim is where water finds a way in later.
Fastening: Placement Matters
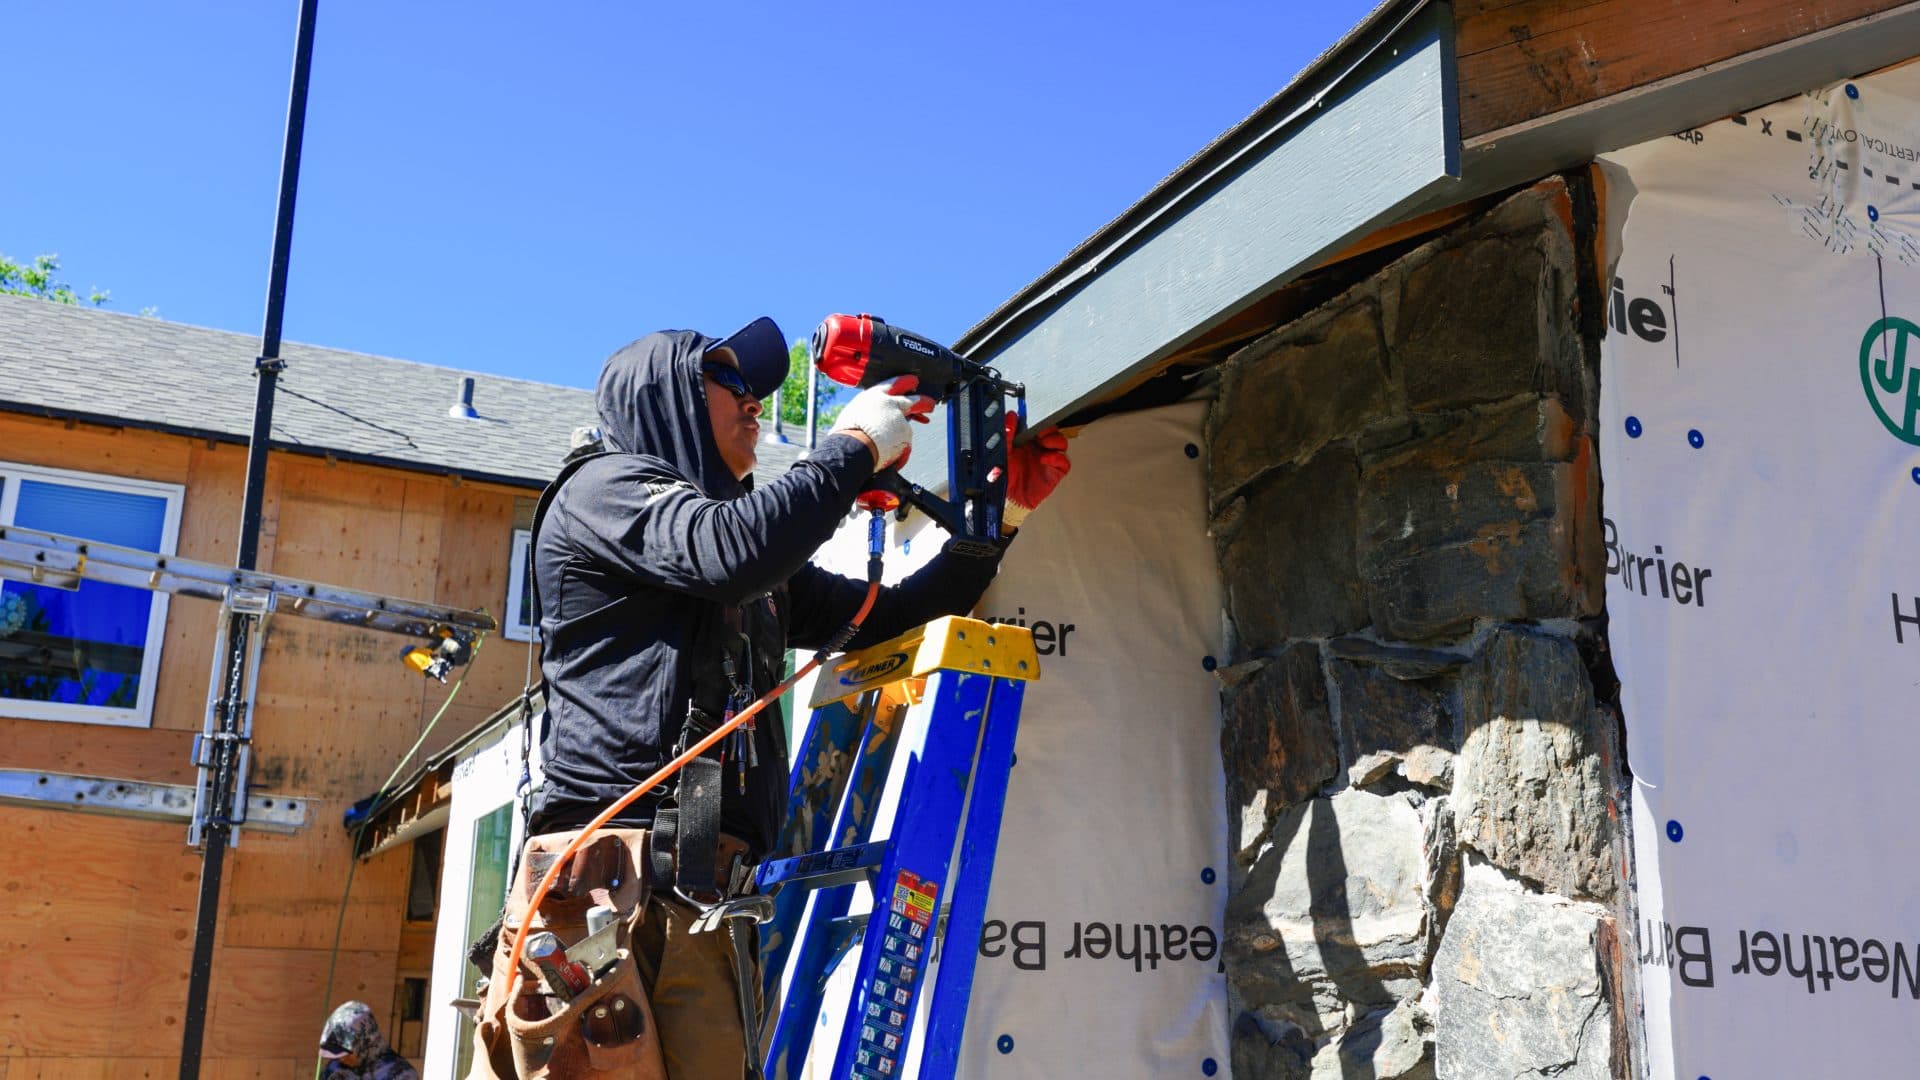
Every panel gets fastened to the wall sheathing according to the manufacturer's specifications. For most fiber cement products, that means specific nail placement, specific nail penetration depth, and specific overlap between courses. Too shallow and the panel can work loose. Too deep and you've damaged the face of the material.
Caulking: Protecting and Sealing
Once panels are fastened and cut edges are in place, caulking closes the gaps at seams, corners, and penetrations. This is where a lot of long-term performance lives. Caulk that's applied correctly - to clean, dry surfaces, in the right bead size, with the right product for the material -creates a flexible seal that moves with the home through temperature changes without cracking or pulling away.
Touch-Up Kits and Why They're Part of the Job
At the end of the project, your crew will use a touch-up kit to address any areas where the factory finish has been nicked, scratched, or scuffed during installation. This is standard practice, not a sign that something went wrong.
Siding panels travel on trucks, get stacked on job sites, and get handled and cut on-site. Minor surface marks are normal. The touch-up paint is color-matched to the product finish, so once it dries, those spots blend in. Before you sign off on the project, walk the perimeter with your project lead and point out anything that looks off. That's the right time to address it.
What to Expect Inside Your Home
This is the part most homeowners don't think about until it's too late. Nailing into your home's exterior walls sends vibration through the structure. That vibration can knock things off walls and shelves. Framed photos, mirrors, art, anything hanging on a hook or leaning against a wall.
Before your crew starts Day 2, take a few minutes to remove or secure anything fragile inside. This especially applies to shelving near exterior walls and anything in rooms that share a wall with the work area for that day.
Getting to the Finish Line
By the end of Day 5, most projects are either done or very close. What you should see is fully installed siding with caulked seams, no visible fasteners, and a clean job site. Your crew should be walking the work with you at the end to make sure you're happy with everything.
The National Roofing Contractors Association and other industry organizations consistently point to proper installation practices and quality materials as the two biggest factors in long-term exterior performance.
Frequently Asked Questions
How long does the actual siding installation take?
For most single-family homes, the installation phase runs two to three days, depending on the size of the home, the profile of the siding, and the complexity of the trim and detail work. Larger homes or projects with significant architectural detail can run longer.
Do I need to be home during installation?
You don't need to be present the entire time, but it's helpful to be reachable. If a question comes up about a design decision or an unexpected condition behind the old siding, your crew will want to talk through it with you rather than make a call on your behalf.
What should I do about my landscaping or outdoor furniture?
Your crew will do their best to protect plants and hardscaping, but it helps to move potted plants, outdoor furniture, and anything close to the walls before work starts each day. It gives the crew room to move and keeps your things out of the work zone.
Can I stay in my home during installation?
Yes. It will be noisy, and there will be crew outside most of the day, but the home stays livable throughout.
What if I notice something I don't like during installation?
Say something the same day. It's much easier to address a concern about panel alignment, spacing, or a trim detail while the crew is on-site and the work is still in progress. Waiting until the end of the project to raise a concern about something visible on Day 2 means more work for everyone. Your project lead is there to hear it.